Catalog
Preparation

What's in the Box

  • Air Compressor *1
  • Pre-wired Heavy Duty Wiring Harness *1
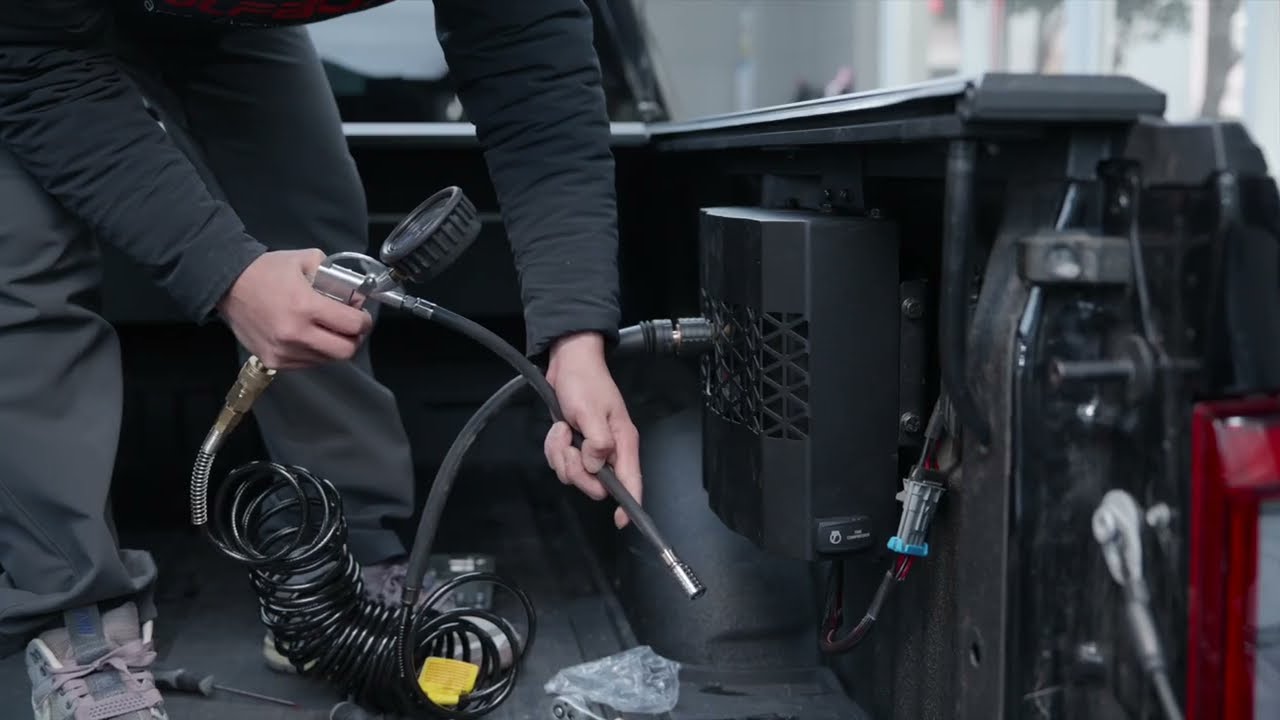
  • Coiled Air Hose with Quick Connect *1
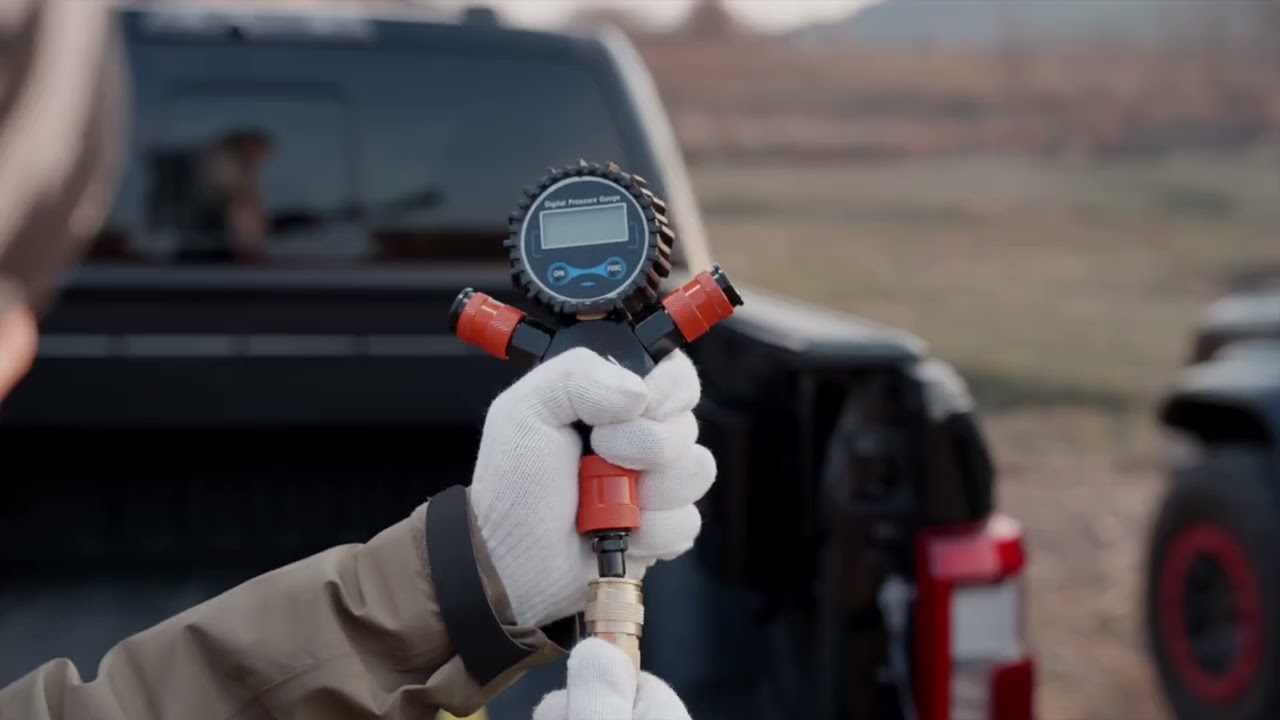
  • 3-in-1 Tire Inflator Gun with Gauge *1
  • Storage Carry Bag *1
  • Mounting Hardware & Nozzle Kit *1
1

Engine Bay Wiring

  • SAFETY FIRST Remove the fuse from the wiring harness before you begin routing or connecting any cables. Use the 10AWG wire.
  • Positive Connection: Crimp the supplied copper terminal onto the red positive lead of the harness, then connect it to the positive terminal of your vehicle's battery.
  • Chassis Grounding: Connect the black negative lead to a solid, paint-free chassis ground point nearby. Avoid running negative leads directly to the battery if a suitable chassis ground is available.
  • Secure the wiring harness in the engine bay using zip ties, ensuring it's clear of any moving parts or extreme heat sources.
2

Cargo Bed Wiring

  • Taillight Removal: Remove the taillight housing to route the positive power cable from the engine bay into the truck bed.
  • Bed Light Removal & Drilling: Unclip and remove the factory bed light. Use the provided hollow bracket as a template to drill two mounting holes (upper and lower) inside the light cavity.
  • Bracket & Cable Routing: Snap the factory bed light into the hollow bracket, then mount the combined assembly back into the original light socket. Pull the power cable through the bracket's cutout.
  • Taillight Reinstallation: Carefully re-mount and secure the taillight housing back onto the truck.
3

Compressor Mounting

  • Space Prep & Base Bracket: Remove the factory bracket to clear space. Mount bracket Part A of the compressor bracket onto the side of the truck bed.
  • Backplate Prep: Remove the compressor's backplate and bolt it onto Bracket Part B.
  • IMPORTANT NOTE Mount the compressor high on the bracket. If positioned too low, the switch on the shroud will be blocked by the compressor body.
  • Reassembly & Joining: Reattach the combined backplate and Bracket Part B back onto the compressor unit. Mount the compressor assembly by securing Bracket Part A to Part B, then tighten the bolts.
  • Power Connection & Finishing: Plug in the main power connectors and make sure they securely click into place. Finally, snap on the decorative shroud for a clean look.
4

Switch Wiring & Testing

  • Switch Wiring: Follow the pinout configuration: connect the Red (Positive) wire to Pin 3, the Purple (Indicator) wire to Pin 2, and the Black (Negative) wire to Pin 8.
  • Mount Switch: Firmly press the wired switch into the pre-cut slot on the decorative shroud.
  • Final Test: Reinsert the fuse into the wiring harness. Flip the switch to make sure the compressor is operational.
Vehicle Note: The vehicle demonstrated in the video is a Ford F-150. Because wiring routes and mounting locations vary between different vehicle models, installing this system requires a certain level of DIY capability. Please plan the wiring route according to your specific vehicle and refer to the included product manual for core technical guidelines.
General Install
Operation Guide
HyperFlow X On-Board Air Compressor Installation Instructions
Download

Simply put, it means zero downtime. Unlike standard compressors that need to cool down after 20-30 minutes, the HyperFlow X can run continuously for 120 minutes (2 hours) at full capacity. This allows you to air up your entire convoy or reset bead locks without stopping to let the machine rest.

While performance varies by tire size, the HyperFlow X is engineered to inflate a 35-inch tire from 15 PSI to 35 PSI in under 2 minutes. Its twin-motor design ensures high-volume airflow to get you back on the pavement faster.

Absolutely. Beyond inflating tires for trucks, Jeeps, and UTVs, it’s perfect for:Dust Removal: Use the included blow gun to clean vents and gear.

No. Unlike many competitors, the HyperFlow X includes our Patented Anti-Scald Quick Connect Chuck (Patent No. 10,166,825 B2). It features a protective heat-resistant sleeve, so you can safely detach the hose immediately after a long inflation session.

The unit features Smart Heat Control. If internal temperatures reach a critical limit, the system will automatically pause operation to prevent motor damage and will auto-reset once it cools down to a safe operating temperature.