Catalog
Preparation

Tools Required

  • Ratchet
  • Socket (24mm / 13mm)
  • Extensions
  • 13mm Wrench

Box Contents

See Photo
  • Linkage Arm Assembly
  • Mounting Bracket
  • Support Bracket
  • Aluminum Step Pad
  • Hardware Kit (Bolts & Nuts)
  • Gloves
Wolfbox Bed Step Package Contents
Bracket Pre-Assembly
1

Bracket Pre-Assembly

  • Locate the Mounting Bracket and the Support Bracket from your hardware kit.
  • Align the two brackets together as shown in the video.
  • Insert and fasten the (2) 8mm Combo Bolts to combine the support bracket to the mounting bracket.
  • TIP Do not tighten the bolts completely yet. Leave them slightly loose to allow for easier adjustments when mounting to the vehicle frame later.
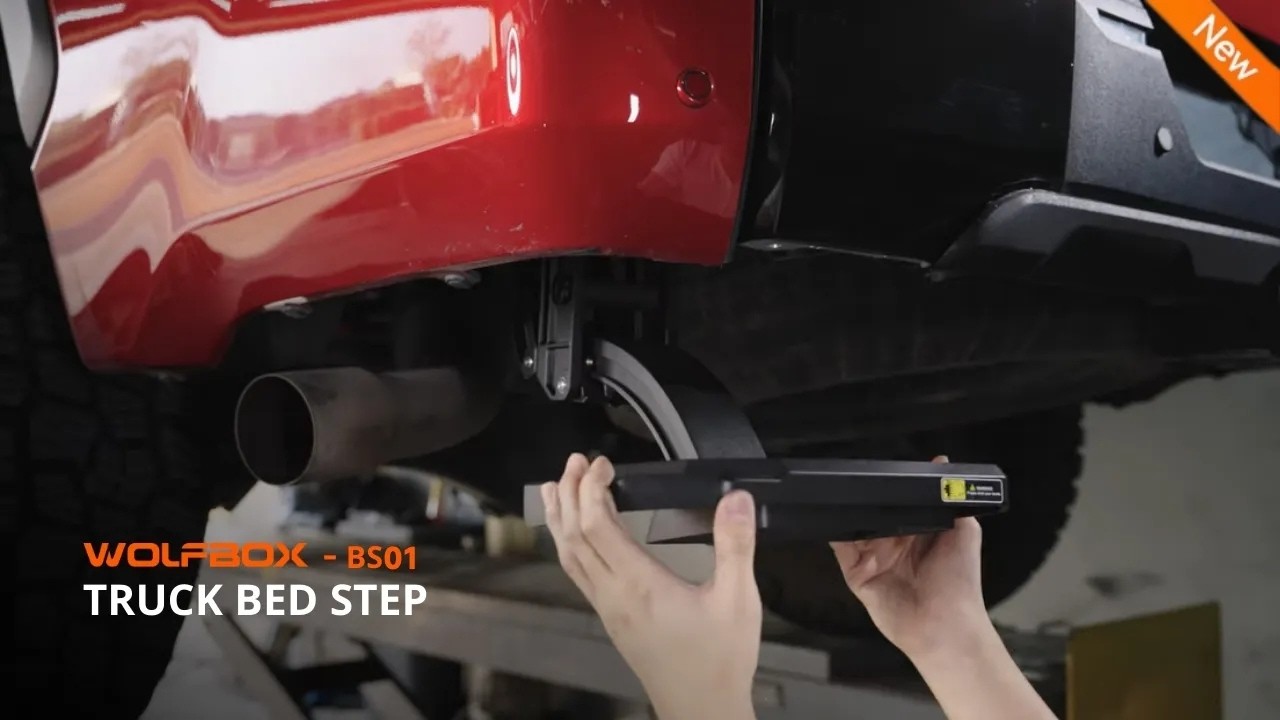
Remove OEM Hardware
2

Remove OEM Hardware

  • Locate the mounting area at the rear Driver Side (DS) of the vehicle.
  • Starting at the frame, use your ratchet and socket to remove the (2) OEM 24mm hex nuts.
  • Next, use a 13mm socket to remove the (2) OEM 8mm flanged hex bolts located slightly higher up on the bumper structure.
  • IMPORTANT The (2) OEM 8mm flanged hex bolts you just removed will NOT be reused for this installation. Set them aside.
Mount Brackets to Vehicle
4

Install Linkage Arm Assembly

  • Align the main Linkage Arm Assembly with the mounting bracket you just installed on the vehicle.
  • Fasten the top of the assembly using (1) 8mm x 20mm Hex Bolt, (1) 8mm Lock Washer, and (1) 8mm Flat Washer.
  • Secure the side of the assembly using (2) 8mm Combo Bolts.
  • NOTICE Due to limited installation space in this area, we highly recommend using a 1/4 in. ratchet with a short socket for this step.
Step Pad Installation & Adjustment
5

Install Step Pad & Adjustments

  • Slide the (4) T-bolts through the open ends of the channels on the underside of the Aluminum Step Pad (insert two T-bolts per channel).
  • Attach the Step Pad to the bed step base (Linkage Arm). Fasten it securely using (4) 8mm Flat Washers and (4) 8mm Nylon Lock Nuts.
  • ADJUST Before tightening the nuts completely, you can slide the step pad left or right to adjust it to your liking. Once positioned, tighten fully.
  • MAINTENANCE Installation Complete! To maintain optimal condition and ensure the mechanism functions properly, periodically clean off any excess dirt and debris from the bed step.
Vehicle Note: The vehicle demonstrated in the videos is a 21+ Ford F-150. The installation steps for other vehicle models are generally similar. Please refer to your specific manual for exact details and variations.
General Install (See Manual for Specifics)
20+ Jeep Gladiator
Download
24+ Toyota Tacoma
Download

Please check the Fitment Table on this page for compatible models. Still unsure? Contact our customer service—we’ll verify it for you in minutes.

It provides a stable 5-inch drop, turning a high-impact jump into a natural step. This significantly reduces strain on your joints and spine during loading.

No drilling required—it’s a 100% bolt-on design. Most owners can have it installed in about 30 minutes using just basic hand tools.

Built from high-strength die-cast aluminum, this step supports up to 330 lbs, giving you a rock-solid, wobble-free platform every time.

No. The stealthy design tucks neatly under the bumper, preserving your factory off-road clearance and your truck’s sleek profile.

It’s completely hands-free. A simple nudge with your foot deploys the step instantly, and you can just kick it back up when you're done.

No. It features a dual-layer rust-resistant coating and an aggressive anti-slip surface to keep your footing secure in rain, mud, or snow.

Regular maintenance is simple but important. Excess dirt and debris may prevent the step from retracting or deploying smoothly. We recommend periodically washing off mud or road salt to maintain optimal condition.

Yes. We suggest performing periodic inspections of the installation to make sure that all hardware remains secure and tight.